Photoshop字体缺失怎么管理?Photoshop字体缺失管理方法

正文
使用Photoshop的时候,很多小伙伴不知道字体缺失怎么管理,下面小编就给大家带来Photoshop字体缺失管理方法,有需要的小伙伴不要错过哦。
Photoshop字体缺失怎么管理?Photoshop字体缺失管理方法
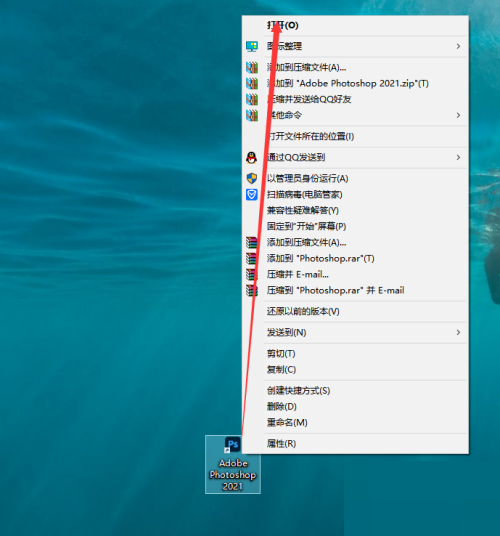
1、首先打开Photoshop软件;
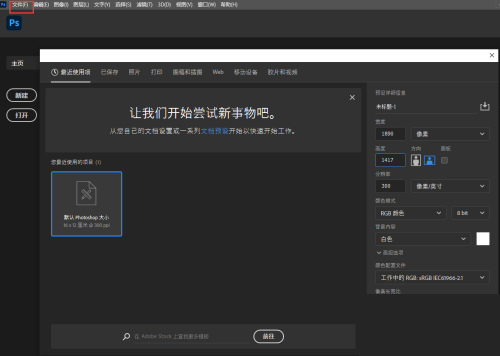
2、然后找到PS导航栏中的文件F按钮;
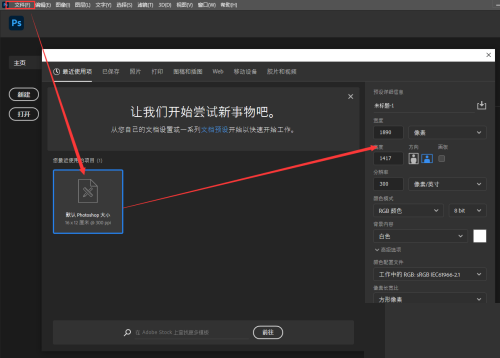
3、然后选择F文件下的二级功能新建(Ctrl+N)自定义像素;
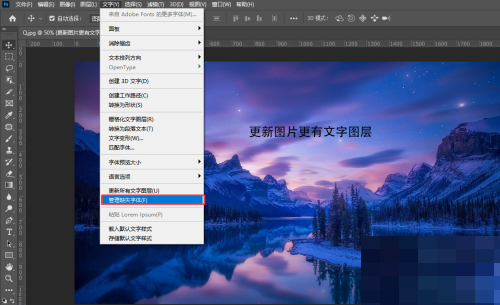
4、最后选择管理字体缺失字体,即可对缺失字体进行统一管理。
以上这篇文章就是Photoshop字体缺失管理方法,更多教程尽在下载之家。
收藏
点赞
于 2022-09-13 发布