Photoshop怎么设置滤镜等高线?Photoshop设置滤镜等高线教程

正文
很多小伙伴在使用Photoshop的时候,想知道怎么设置滤镜等高线,下面小编就为大家分享教程,感兴趣的小伙伴不要错过哦!
Photoshop怎么设置滤镜等高线?Photoshop设置滤镜等高线教程
1、首先新建Photoshop。
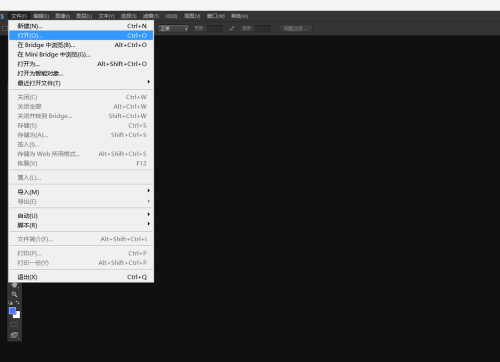
2、然后我们下拉“文件”-“打开”。
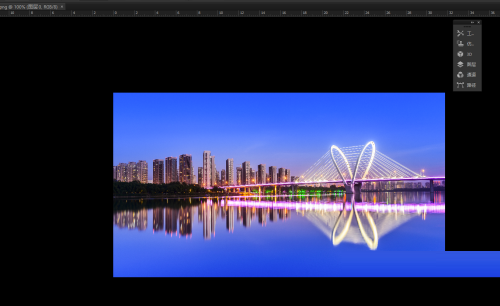
3、我们根据路径打开素材。
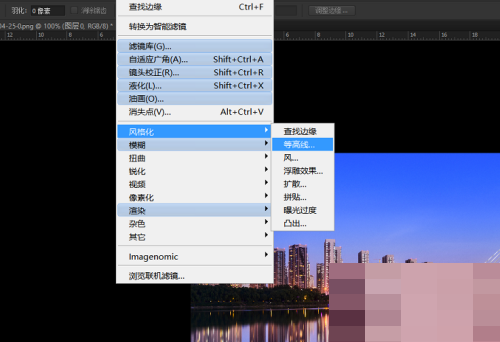
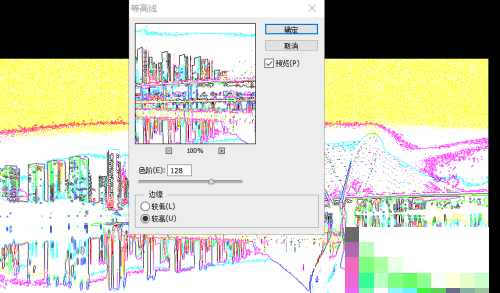
4、接着在功能区“滤镜”-“风格化”-“等高线”。
5、如图我们设置参数半径。
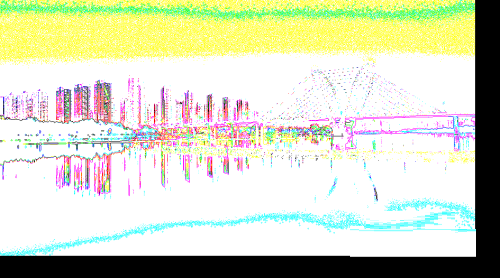
6、最后我们通过操作就可以设置图片等高线的艺术效果了。
希望此教程能帮到大家!更多教程请关注下载之家!
收藏
点赞
于 2022-09-09 发布